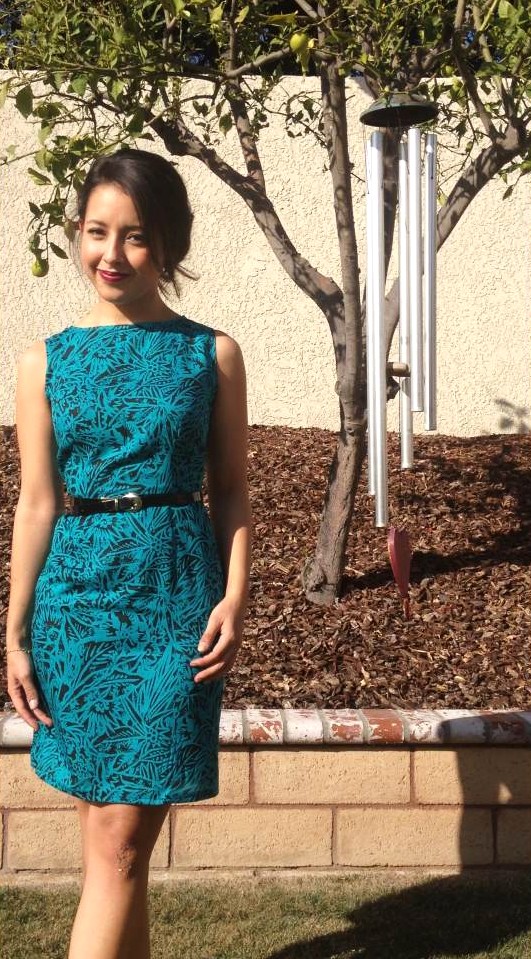
Floral Silhouette Dress

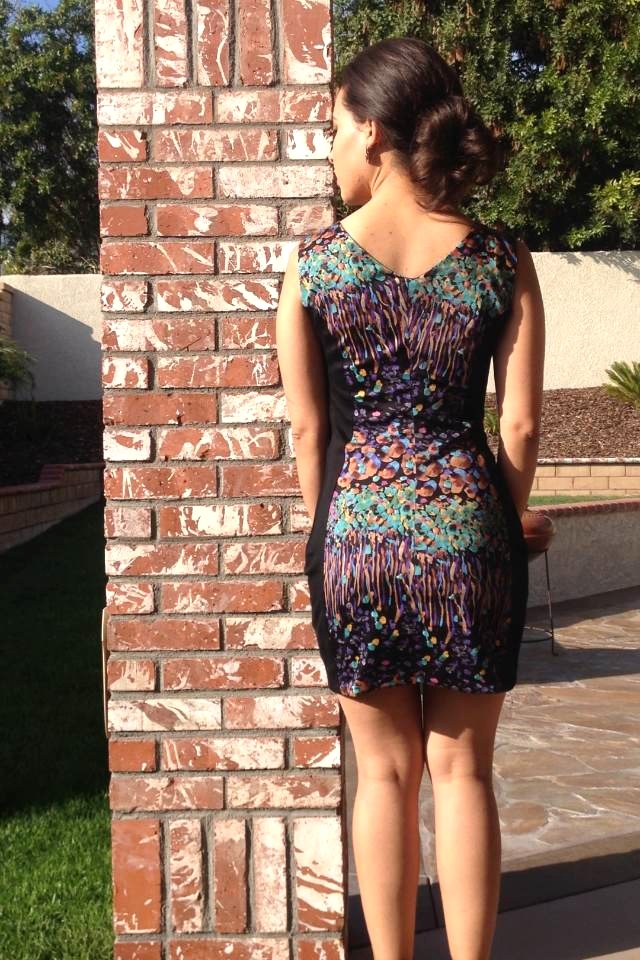
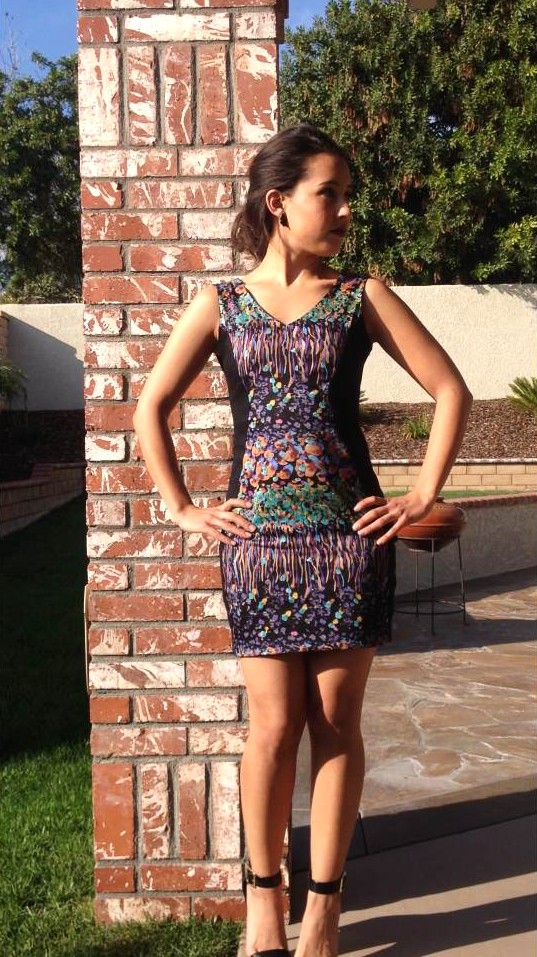
As the rain was coming down here last week, I was working away on a fun floral dress!

photo (16)

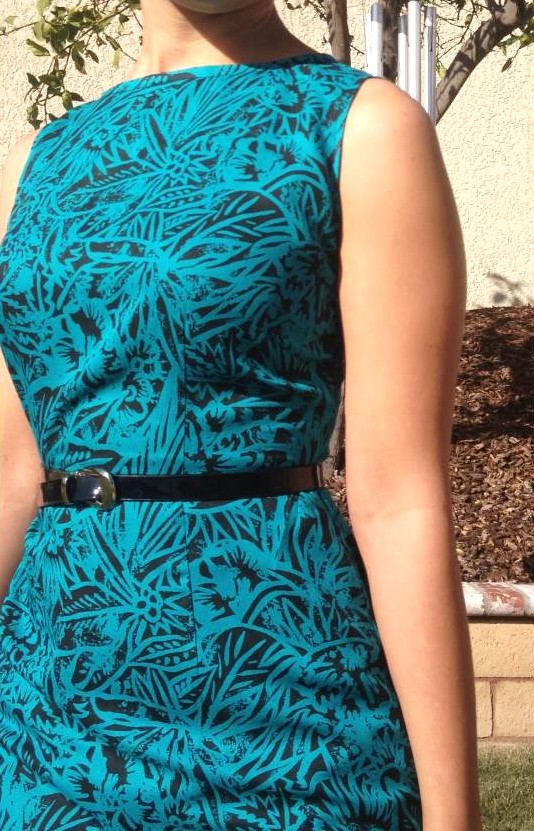
The pattern started as the shift dress from the pattern book, Built by Wendy. I came across this book at the library and immediately checked it out, along with the biography of Balenciaga and a dummies book on fashion illustrations (which is quite educating!). Initially, I was going to make a straight shift dress with the floral broadcloth (from Joann’s), but I saw a couple scrap strips of black broadcloth that were the perfect size for the side panels in the silhouette.

photo (4)

I measured the shape that I wanted of the silhouette and transferred the measurements to the paper pattern. As with The Burdastyle Sewing Handbook, no seam allowances are included in Built by Wendy, which is easier for changing up the style.

photo1

I didn’t make a muslin for this dress. Instead, I sewed the seams using a long stitch length for easier removal during fittings. I ended up taking more up through the shoulders, so the final length of the dress came out a little shorter than I would have made it, but now its more of a mini style!

photo (14)

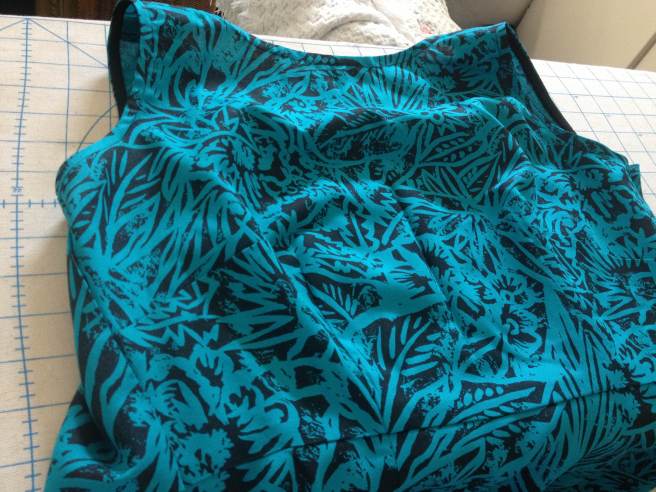
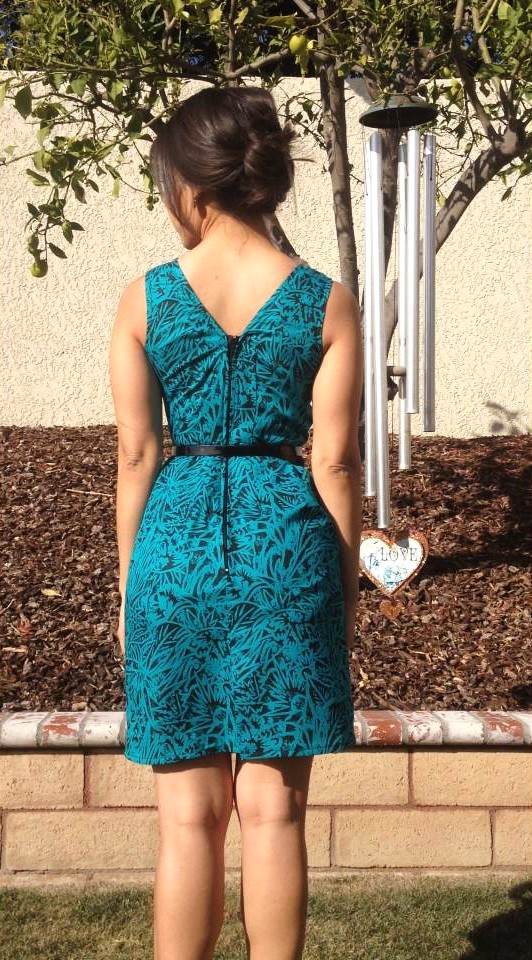
The neckline is finished with a self fabric facing and the armholes with a black bias binding that is inwardly turned. See the hem stitch? Neither do I! That’s a blind hem for ya! After several failed attempts at adding the zipper to the the back, I closed it up and added the zip on the left side seam of the dress.

photo (15)

I’m a new fan of the side zip!

photo (2)

Sun’s out, gun’s out! I’m ready for Spring! Thanks for reading!
Happy Valentine’s Day – The Black & Blue Anti-Valentine Dress

Happy Valentines Day! My intentions weren’t to finish this dress in time for a Valentine’s Day post, but I did, so I added the “Anti-Valentines” because I’m riding solo this year! Black and Blue, because duh, it’s black and blue!

photo (2)

The pattern is New Look 6123, view C without the arm flange.  I made view B back in August.

photo (18)

I cut a straight 8, but used a 1/4″ seam allowance in the skirt. By the look and feel of the bodice,  I need to take more in via the darts. I finished the neckline and armholes with black bias binding tape. Next time, I’ll shave off a bit of the neckline and front armhole.

photo

I love the lightweight feel of the fabric! I found it at a little old fabric store with mostly fabrics for quilting. It’s definitely a poly cotton or rayon.

photo (11)

I wanted the V-cut to go lower but I ended up taking in an extra inch in the zipper, so it brought up the depth of the V. The zipper is just a regular black zip- all I had on hand! There’s also a vent back there too!

photo (20)

This is a great pattern for a bold print like this! I definitely have plans to make a few more!

The Black Wrap Top

It’s finally starting to feel like winter here in Southern California! Up until a couple weeks ago, I was still wearing sleeveless tops. But now that the temperature is dropping, I am realizing my lack of long sleeve tops.

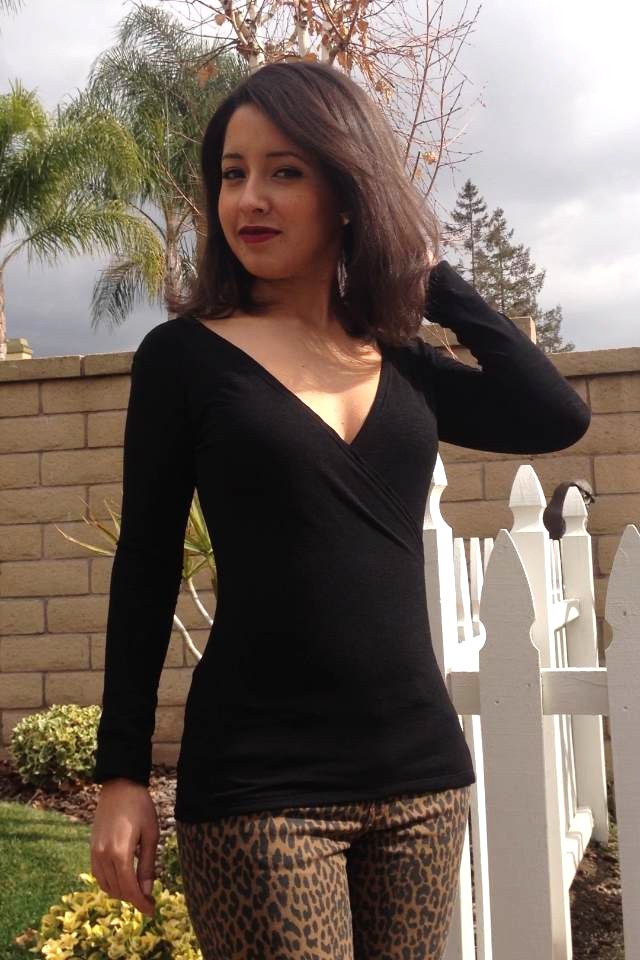
photo (11)The pattern is Sew Over It’s Ultimate Wrap Dress, hemmed significantly. I looooveee the fit of my wrap dress so much that I made a top version! Unfortunately, I don’t wear dresses quite as often as I would like to, as a simple tee, jeans and bomber jacket are my usual winter go to’s.

photo (20)

Instead of adding the ties, I simply sewed up the side seams with the wrap part sewn in too. So it’s kinda a faux wrap top!

photo (4)

photo (16)

I wear black more than I like to admit, so I know I’ll be wearing this one ALL the time like I have with my perfect little black tee.

Oh yea, in case ya haven’t noticed, I cut my hair! Spontaneous decision, but I am quite liking the change!

photo (10)

Thanks for reading!
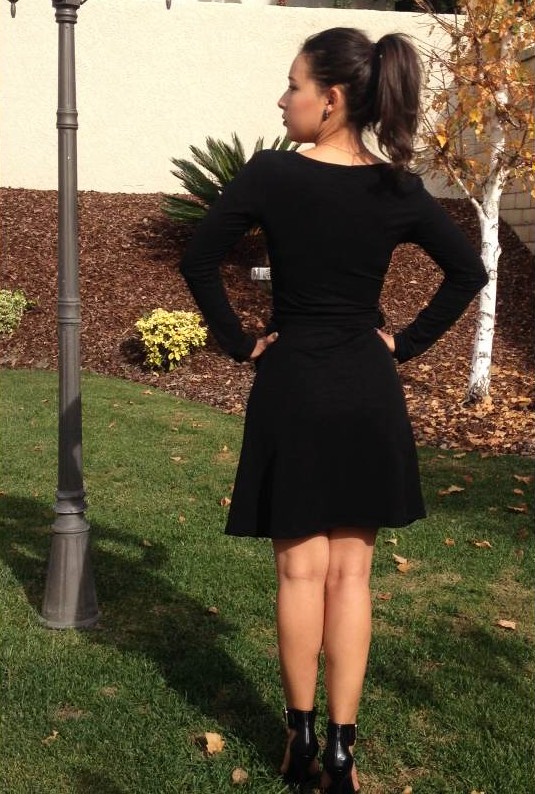
 

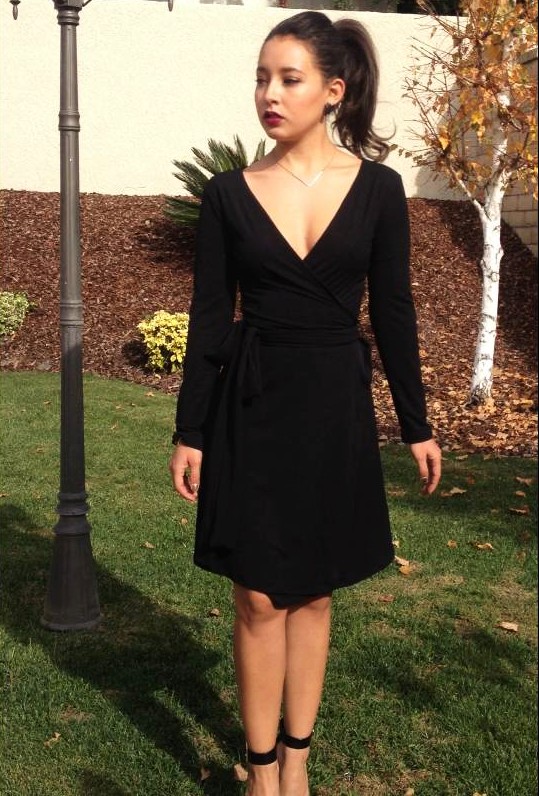
The Perfect Little Black Tee

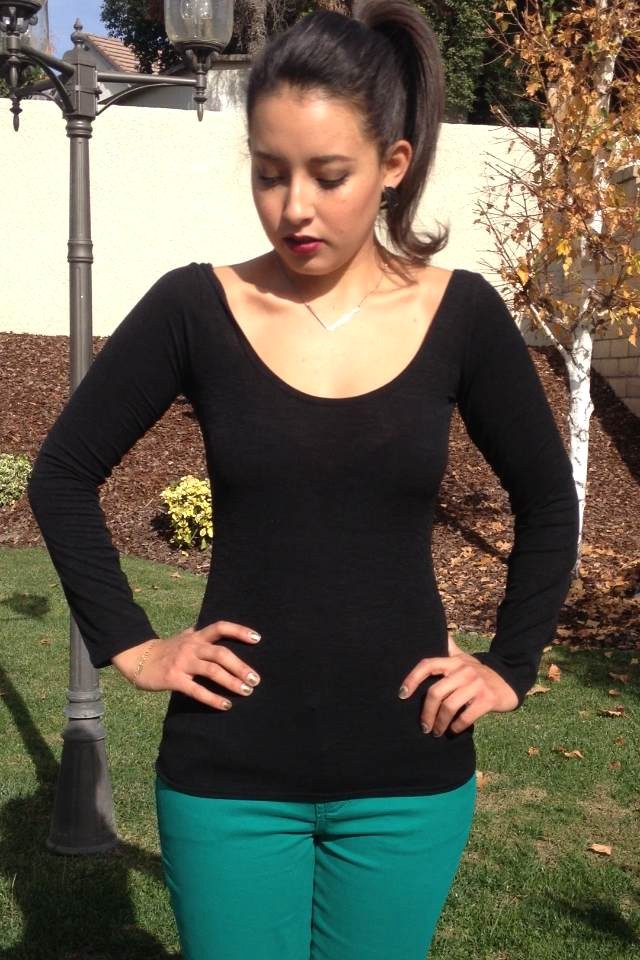
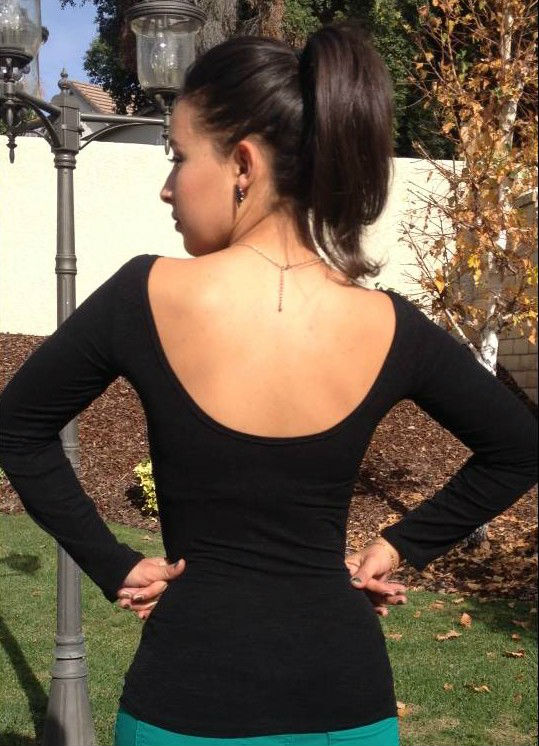
This is my perfect little tee!
The Little Black Tee

I drafted the pattern back in the summer and it is my go to pattern for tees. I recently went to the fabric district of downtown LA and purchased about 20 yards of this jersey so I could make more staple items. I find that large commercial fabric stores don’t carry good jersey for shirts. This was a good find, so how could I resist overbuying for future projects. Plus it was a good deal!

The Little Black Tee

I like scoop necks and even deeper scoop backs. The back scoop is low enough to be dramatic and high enough to cover a bra strap (I’m wearing a strapless here). It’s definitely my go to tee!

Finished Project: Sew Over It Ultimate Wrap Dress

This is definitely THE ULTIMATE Wrap Dress!

photo_12

I have been wanting to buy this pattern from Sew Over It since I used M6744 to make my purple silk wrap dress. I finally purchased it two weeks ago and I was so excited when I received a lovely pink package last week all the way from the UK.

photo_14

The combination of the fabulously drafted pattern and the stretchy jersey make for an extremely comfortable dress! I made the whole dress using my serger, finishing the hem and facing with a coverstitch.

photo_3

photo_11

Thanks for reading!
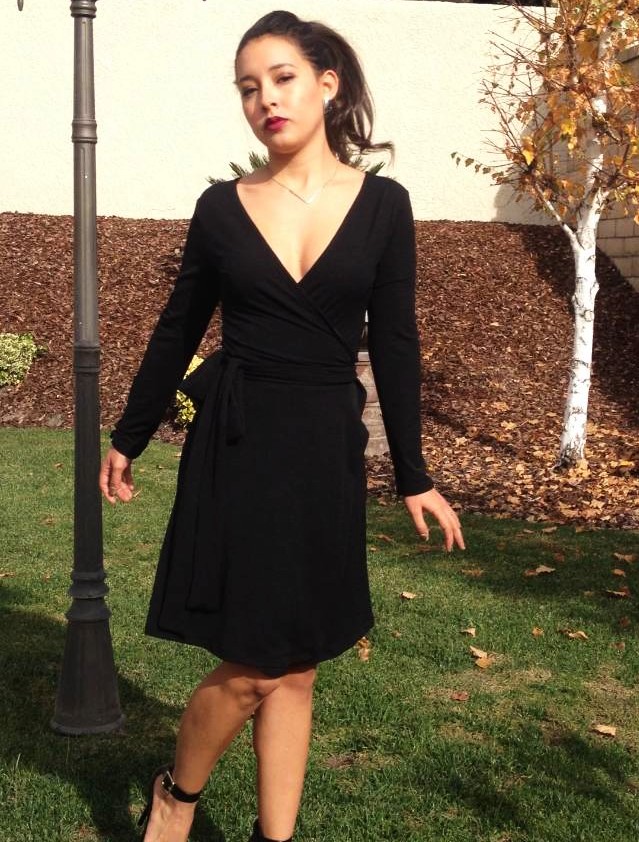
 

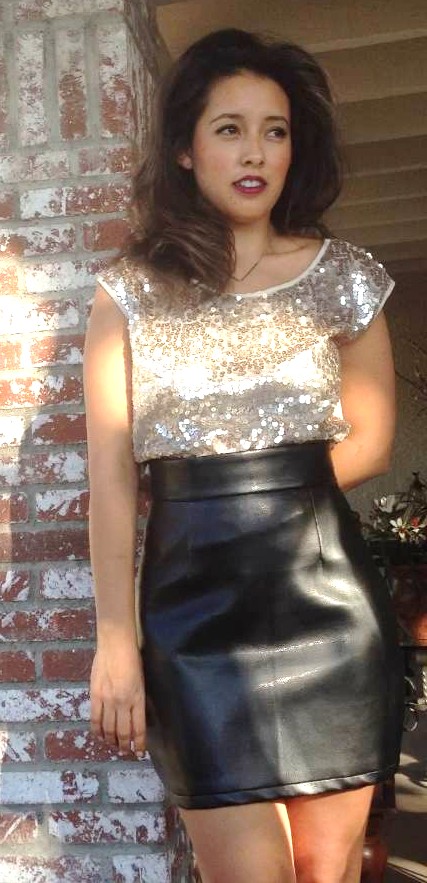
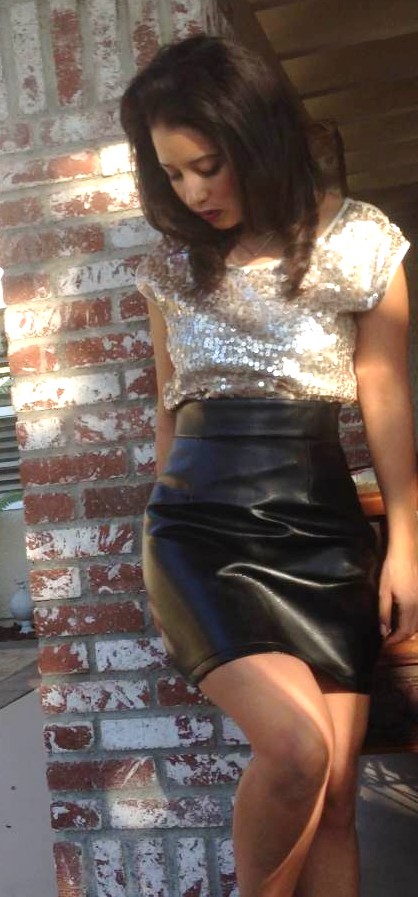
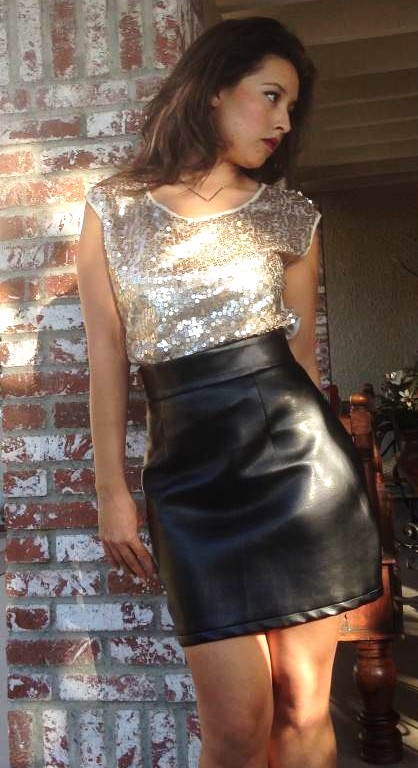
Finished Project: Pleather Pencil Skirt

I got a thing for pleather leather!
photo (1)

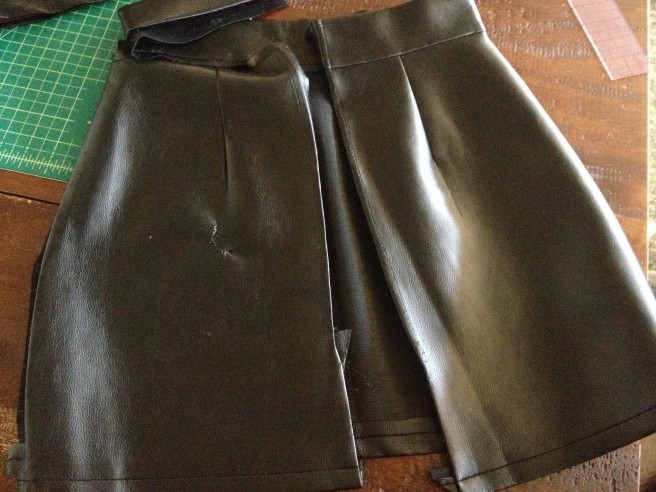
I actually finished the skirt back in June and wore it for my birthday but I didn’t blog about it. I recently took it out to wear and it had this huge hole on the left buttocks.

photo (23)

I was hoping I could stitch it up without having to take the whole panel off, but as you can see, the repair looks shotty, so I pulled out my handy dandy seam ripper and got to ripping!

photo (9)

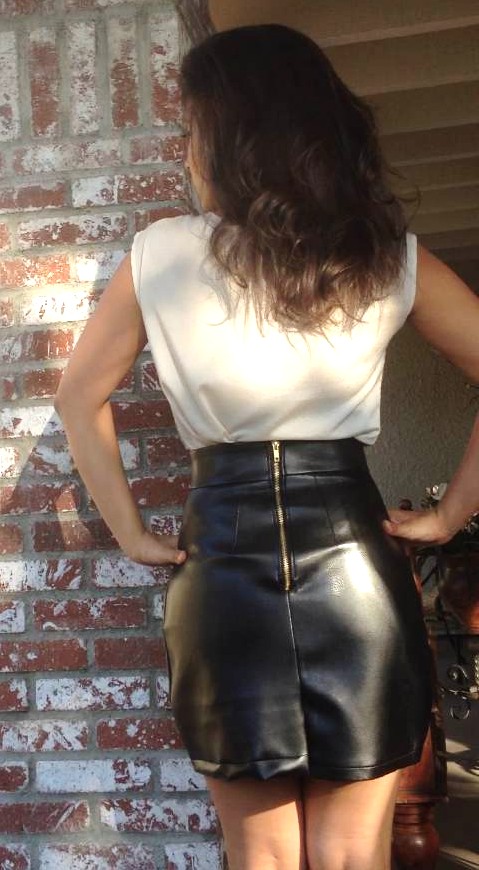
I drafted this pattern based on my measurements by following a tutorial online (I can’t remember which one). It was quite simple and it’s a great pattern to have on hand.

photo (4)

Looking at the back, I can tell that the back darts need to be moved slightly outward, away from the zipper. Speaking of zipper, look at that beauty! The seams line up too!

photo (7)

Perfect fit for a perfect look! 🙂 Thanks for reading!
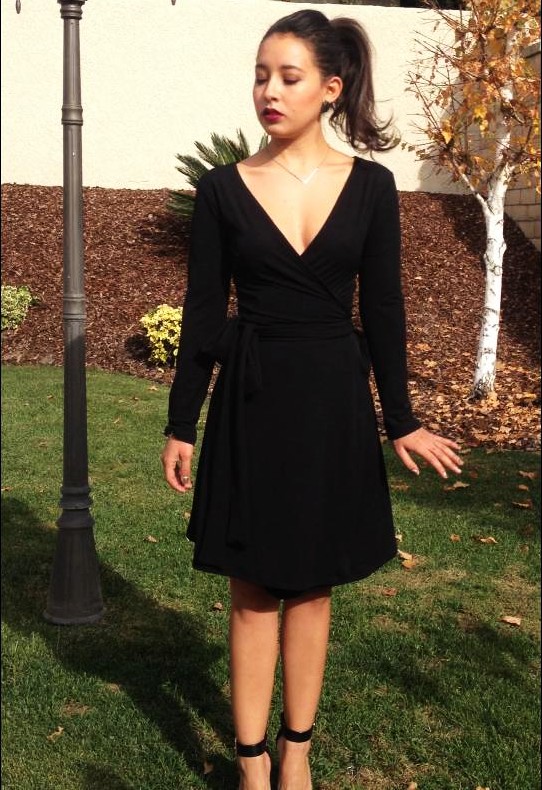


Finished Project: Vogue 8697 Pleather & Denim Skirt

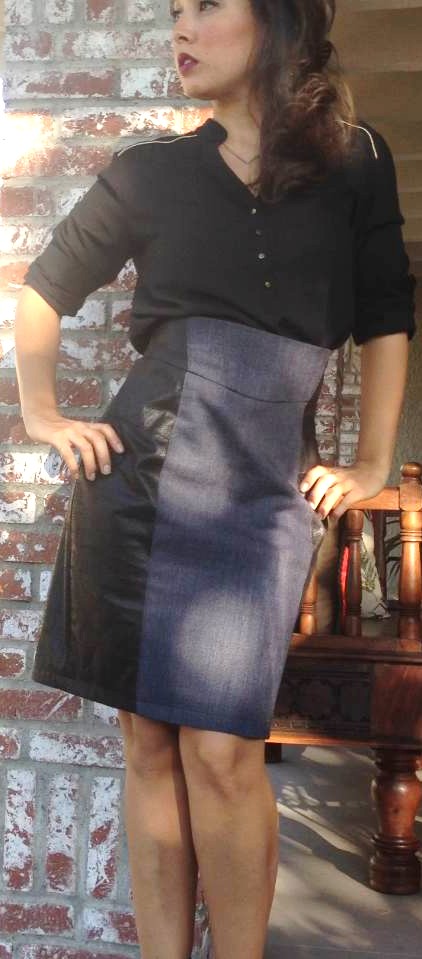
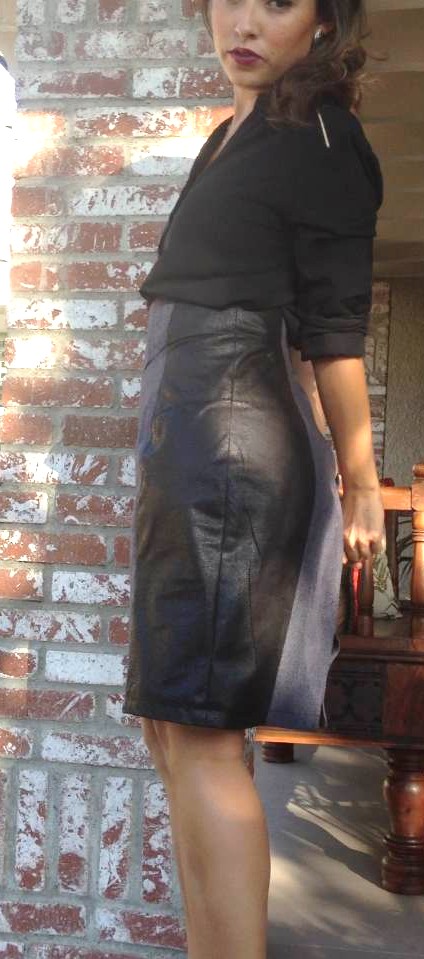
As I was rummaging through my pattern stash, I came across Vogue 8697, and made option D, using the leftover fabric from the motorcycle jacket.

photoI actually made this skirt pattern two years ago in grey with black pipping. It was one of my first projects and I remember adding the interfacing to the lining instead of the outer fabric. It took me about a month to make. This one came together in a couple days.

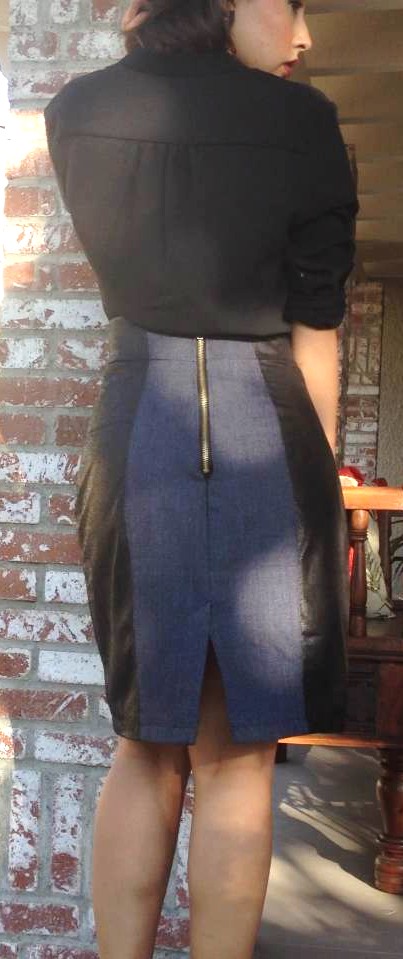
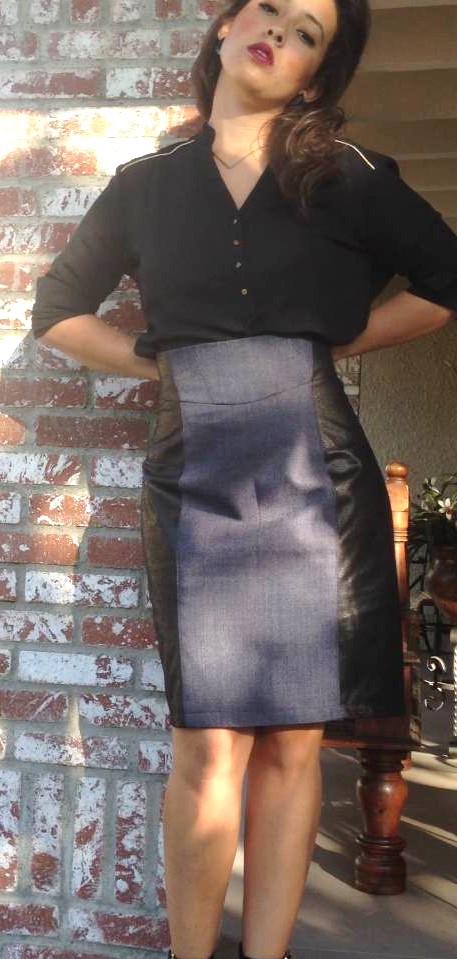
photo (7)The contrasting pleather panels remind me of the Stella McCartney silhouette dress. I think the next time I make this skirt, I’ll make the hip panels smaller and more curvier to add more of a shapely illusion. I would also shorten the waistband facing because I feel like it kind of overpowers my small body! I already shortened the skirt pattern by 2″.

photo (8)

I’m slowly overcoming my zipper fear! Exposed zippers are my favorite way to practice!

photo (21)

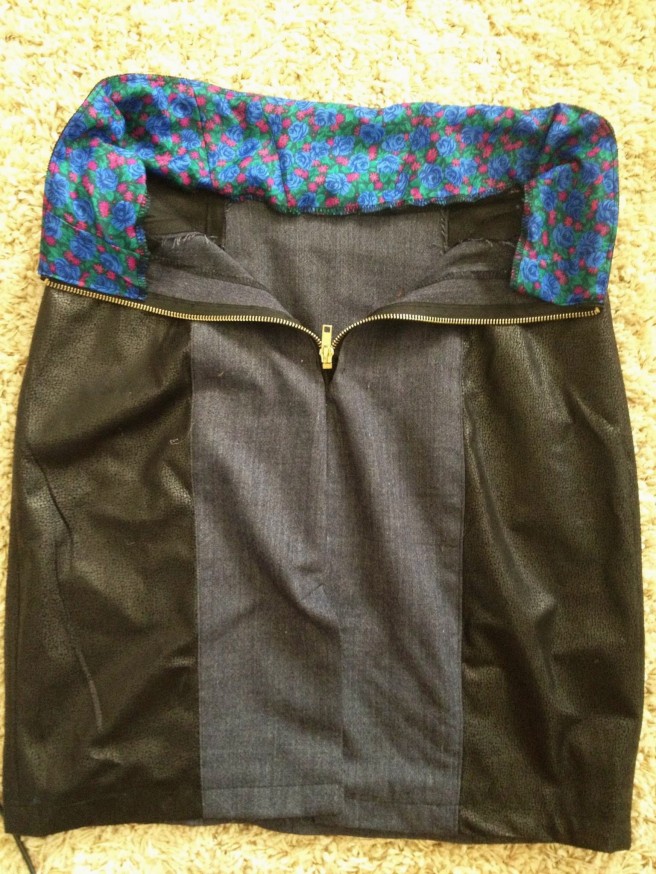
One of my favorite parts about sewing is being able to add fun facings and linings! I decided not to completely line this one because I felt it would be too hot and sticky with the pleather and denim.

photo (17)

I’m quite pleased with the way it turned out! It’s a great transitional piece for the fall!

Finished Project: The Burdastyle Sewing Handbook’s Motorcycle Jacket

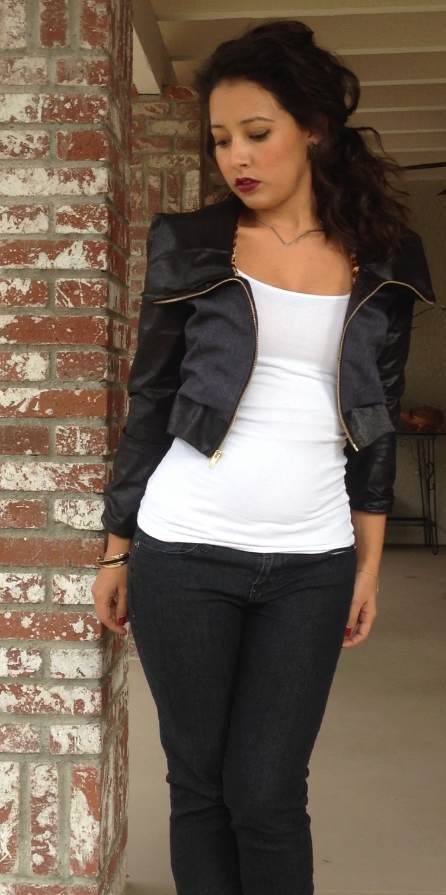
I’m a huge fan of the denim/ leather mix and seeing as the weather is turning, what better time than now to make a motorcycle jacket!

photo (9)

This design is a variation of the master coat pattern included in The Burdastyle Sewing Handbook. I made the Audrey Hepburn inspired pea coat last winter and I shall blog about it soon, once I pull it out for the season (and add buttons 🙂 ). *11/6/13 EDIT: Here’s the pea coat*

photo (6)

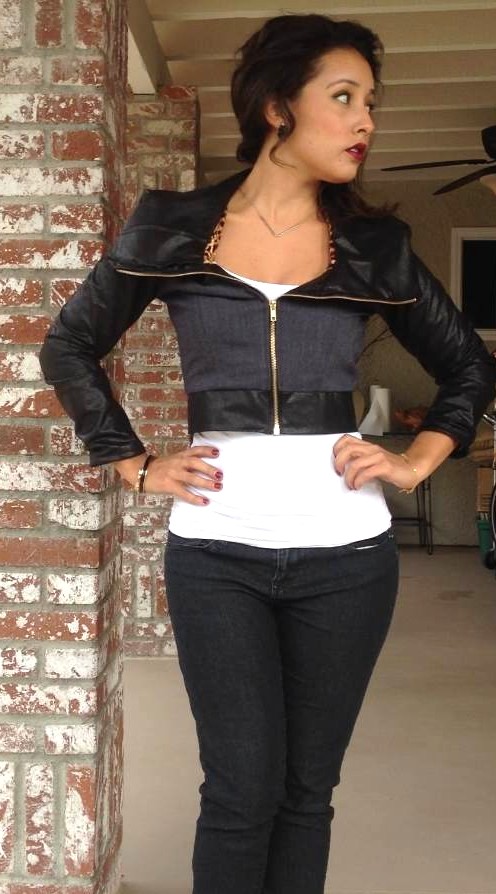
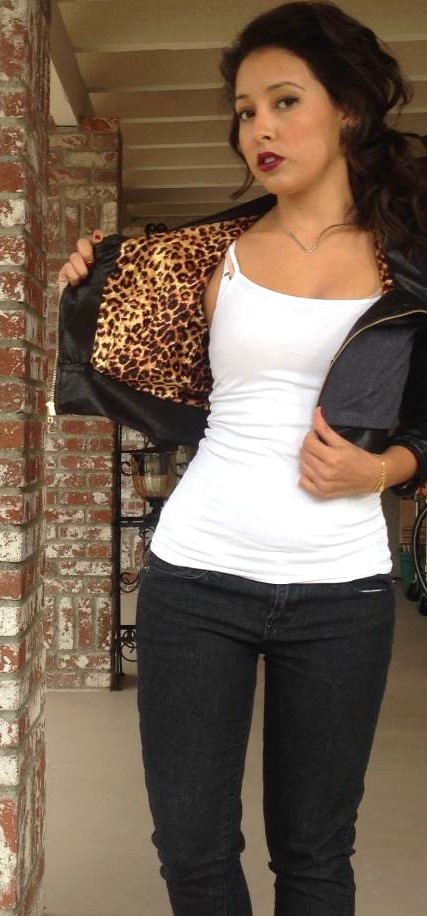
The book recommends to use ribbing for the cuffs and collar, but I didn’t add cuffs and used the pleather as the collar. I made it work! This was my first time using a separating zipper for a jacket. It doesn’t look too shabby for someone with a zipper fear like me!

photo (17)

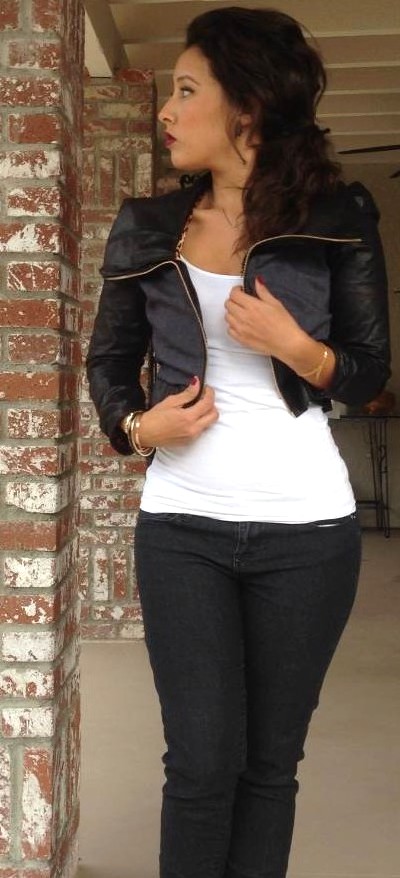
I think this jacket has a slight Ferris Bueller feel to it. Bueller? Bueller? Anyone? Anyone?

photo (21)

photo (2)

With this jacket, I look like I’m ready to ride! Vroom Vroom!

Finished Project: My First Knit Sweater – Agatha Cardigan

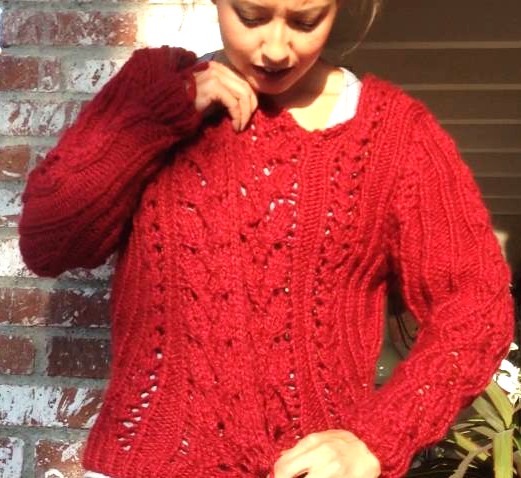
I’m so excited to have finally finished knitting my first cardigan! I first learned how  to knit the basic knit/ purl stitches when I was in middle school from my dads gf at the time and that was ALL I knew when I started this project. When I saw  Lauren’s version over a year ago, I was determined to make this exact cardigan.

photo (2)

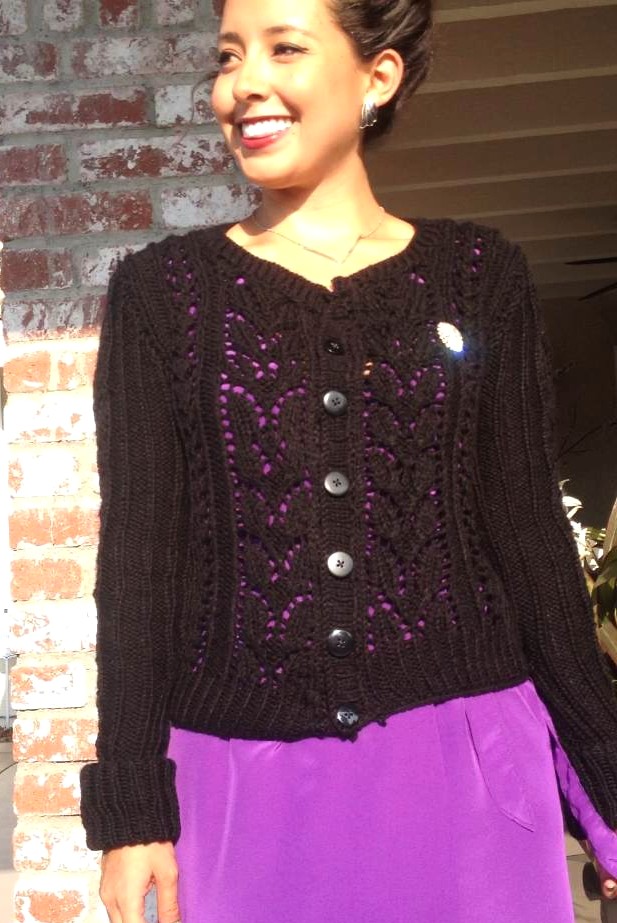
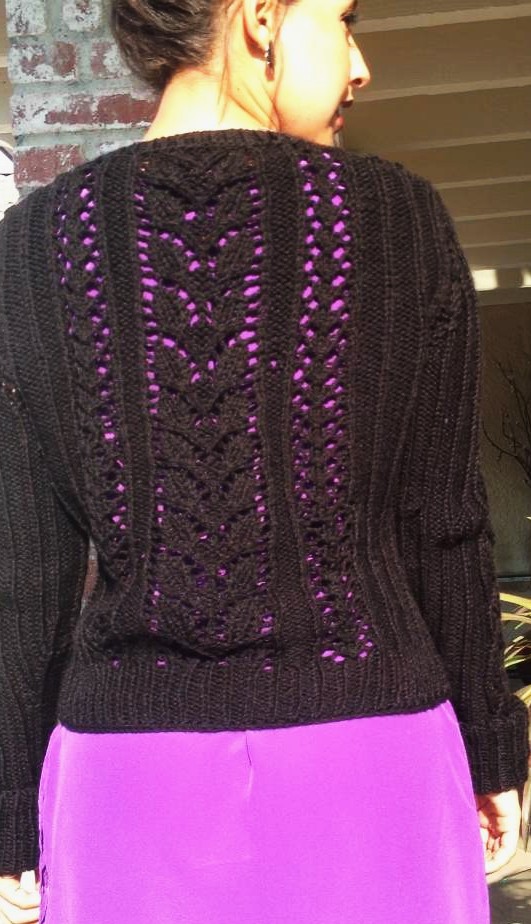
The back, front and arm sleeves are detailed with a beautiful lace pattern. I knit the sweater longer than the cropped version in the pattern pictures.

photo (5)

I purchased this pattern in January 2013 and started with a green yarn. Reading the pattern was like learning another language. Every couple stitches, I would have to stop and youtube how to make stitches like ssk, yo, k2tog, and sk2p. And after I thought I had the stitches down, I would go back to count my work and find out that I was missing several stitches or had extra stitches. It was so frustrating! So I took a break and made a cable knit scarf out of the green yarn. After that project, I bought a red worsted yarn, ready to tackle this pattern again. I went into this project knowing that the red yarn was thicker than the recommended weight, but I was so in love with the red, that I kinda over looked that detail :/ .
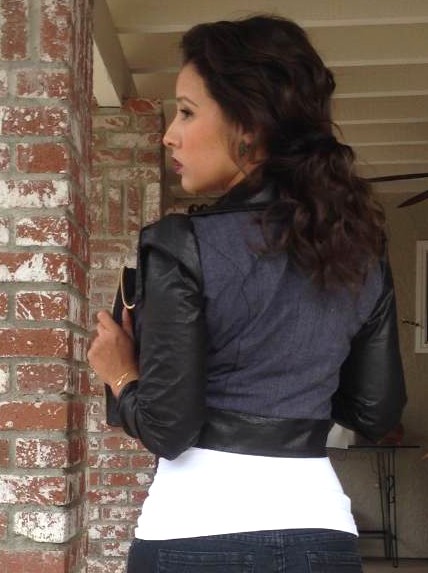
photo (2)

When I tried the sweater on, it looked like something my grandma would knit me. And she didn’t knit. These photos were taken before blocking, which means it would have stretched out quite a bit more.

photo (5)

I stopped knitting this one before adding the button bands and collar. This was a good learning experience because I now understand the importance of buying the right yarn! And doing a gauge test first!
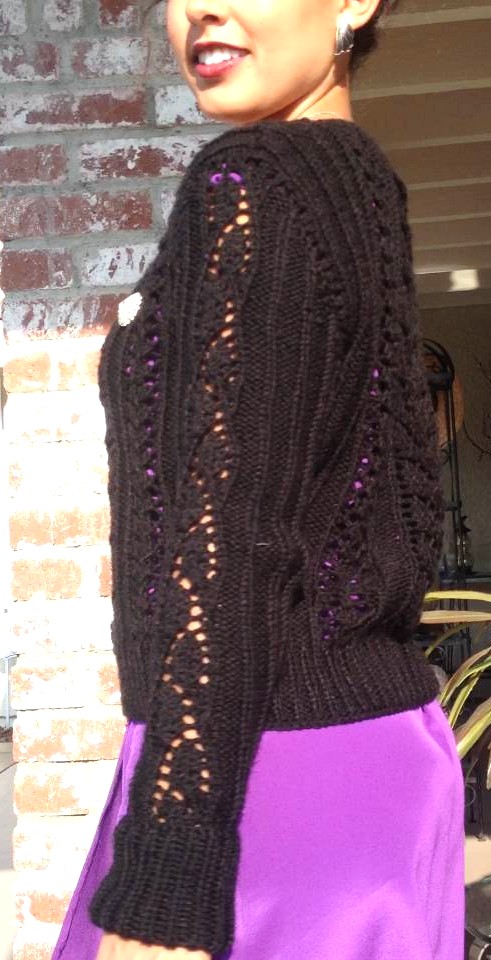
photo (6)

It is still a tad big because I used 5.5mm needles and I should have gone smaller :/ . Oh well. Stitch, unravel, learn. That’s my recipe for knitting a sweater. And a lot of patience. ALOT. I must have unraveled and started over at least a 1000 times just trying to learn the advanced stitches required for the lace pattern.

photo (17)

This cardigan was well worth it. 🙂

Finished Project: Butterick 5526 Black and White Gingham Collar Shirt

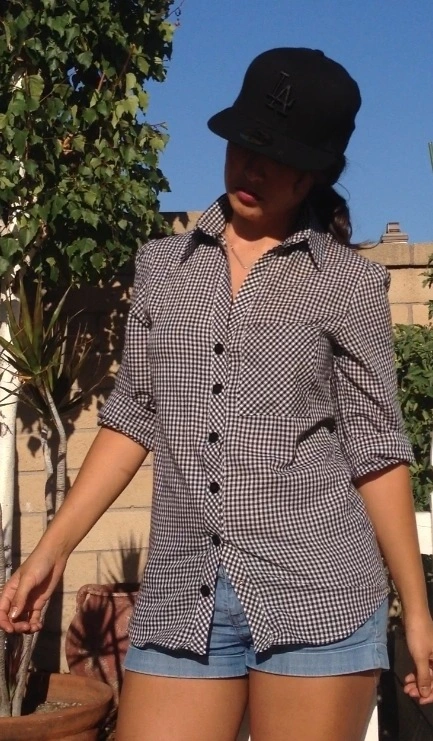
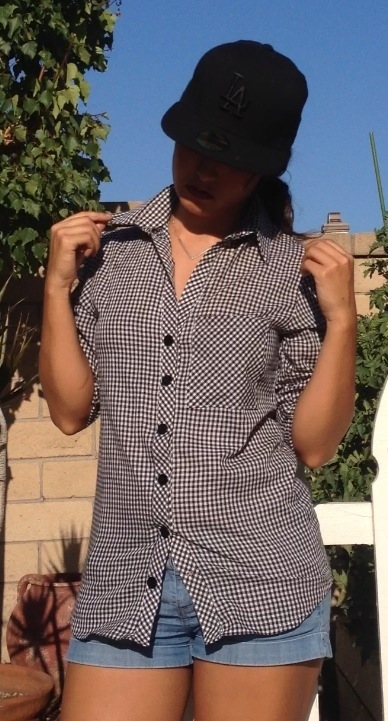
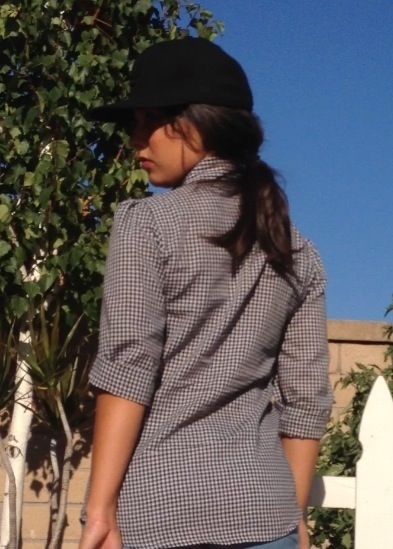
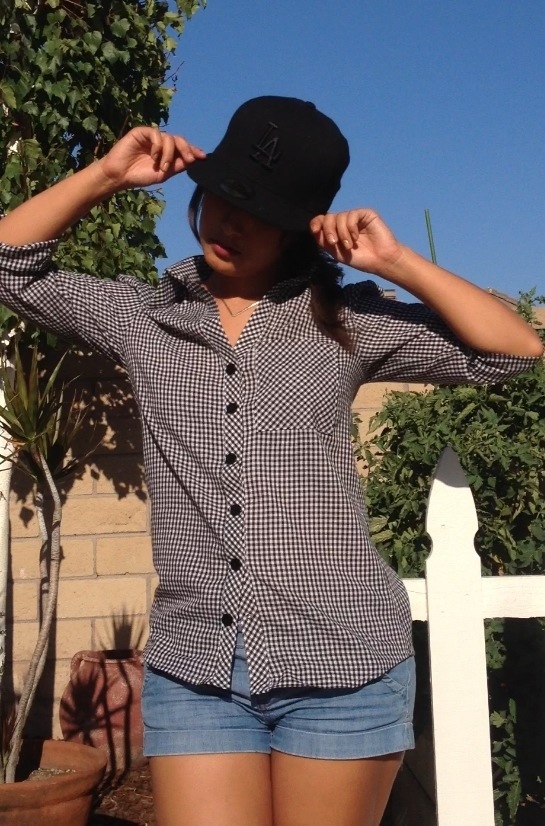
This past weekend I attended my first Dodger game! I purchased my hat and envisioned wearing this gingham button up, that I’ve been meaning to make. This came together in one evening, as I sewed the last button on at 3 in the morning.

20130814-092208.jpg
I’ve used this pattern once before, so it came together quite easily. I lost the collar pattern so I drafted my own, making it a little bigger so I can pop that colla’. Lol

20130814-092322.jpg
Upon looking at the pictures, I am realizing that I have a slight sway back.

20130814-085510.jpg
I cut the pocket and the front placket on the bias. I love the interesting dimension it adds!

20130814-091736.jpg
The buttons are actually snaps! Remember how I had said that I lost my button making foot? Well, in a desperate attempt to find one this weekend, I visited several sewing stores. I ended up not finding what I needed at the time, but what I found was even better! I was truly blessed to have met a wonderful lady who gave me a one on one tutorial on how to make a buttonhole without a foot. I ended up not being able to do it quite as well as she did, which is why I resorted to the snaps. A day later she got in contact with me and said she had found an extra buttonhole foot! I met her at her sewing studio and let me tell you, it was a sewers dream! We chatted about sewing and she even asked if I wanted to go through the fabrics she was going to get rid of! Seamstresses are the kindest of people!

20130814-092606.jpg